.gif)
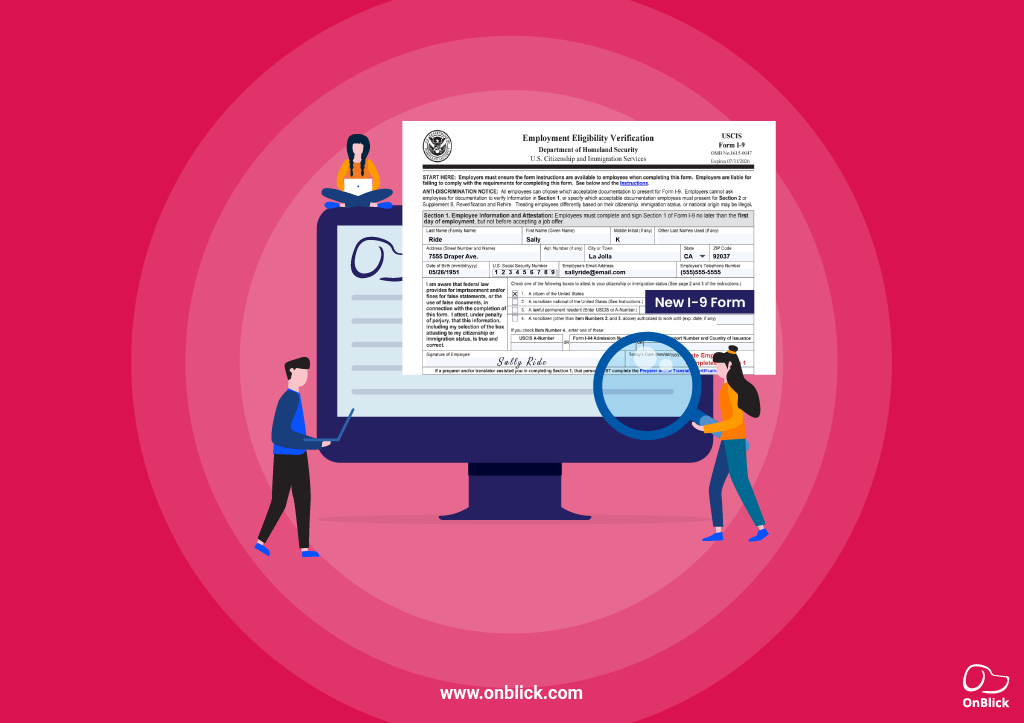

For U.S. businesses, maintaining a compliant workforce is crucial. A key component of this is ensuring proper completion of the Form I-9, Employment Eligibility Verification. Non-compliance with Form I-9 can result in significant penalties. This makes staying up-to-date on the latest regulations essential.
A lot of people ask the question: what is an i9 form? This blog post deals with the importance of the I-9 Form 2026, explores its purpose, explains how an i9 form is completed, and suggests steps to ensure I-9 compliance.
What is an I-9 Form?
As per Section 274A(b) of the Immigration and Nationality Act, Form I-9, officially titled Employment Eligibility Verification, is used to verify the identity and legal authorization of all new hires to work in the United States. It applies to all U.S. employers, regardless of company size, for any employee hired after November 6th, 1986. This form is a mandatory document established by the Immigration Reform and Control Act (IRCA) of 1986.
Some employers might view Form I-9 completion as a time-consuming formality. However, it’s a legal requirement for maintaining a compliant workforce. Failure to properly complete and retain Form I-9 can result in significant penalties for employers.
Here are some key things to remember about Form I-9:
- Mandatory for All New Hires: Every new employee hired after November 6th, 1986, requires Form I-9 completion.
- Employer Responsibility: Employers (or authorized representatives) are responsible for ensuring accurate completion of both sections of the form.
- Retention Requirements: Employers must retain completed forms for a minimum of three years after the hire date or one year after employment ends (whichever is later).
By understanding the importance and legal requirements of Form I-9, employers can ensure a smooth onboarding process and avoid potential penalties.
Note: E-Verify does not replace Form I-9

Who Completes an I-9 Form?
Form I-9 is a two-part document requiring completion by both the employer (or authorized representative) and the new hire. Employees must attest to their identity and employment authorization by presenting acceptable documentation during the Form I-9 completion process. The employer’s role is to verify these documents and sign the form, confirming completion.
Who is Exempt from Form I-9?
While U.S. Citizenship and Immigration Services (USCIS) mandates the I-9 Form for most employees, there are some exceptions. According to USCIS, an "employee" is someone performing work in exchange for pay or remuneration. Here are some common exemptions:
- Individuals providing services to your company as independent contractors, not employees, are not subject to Form I-9.
- If you hire temporary workers through a staffing agency, the agency will handle the Form I-9 for those workers.
- Casual domestic workers do not need Form I-9 if they work sporadically, irregularly, or intermittently in a private home.
- If your employees work from another country, you usually don't have to fill out the I-9 for them
- Interns who are not receiving payment for their work are exempt from Form I-9 requirements. However, if you begin paying an intern, you must then complete Form I-9.
Note: It’s crucial to consult with legal counsel or USCIS resources for comprehensive guidance on Form I-9 completion and exemptions specific to your situation.
Sections of Form I-9, Employment Eligibility Verification
The Form I-9, Employment Eligibility Verification, is a two-page document with specific sections designed to streamline the verification process. Here's a breakdown of each section and its purpose:
Section 1: Employee Information and Attestation
This section is the foundation of Form I-9. New hires must complete it on their first day of employment. It requires them to provide personal details such as name, address, and date of birth.
They must confirm their citizenship status. This confirmation must be made under penalty of perjury. Acceptable statuses include U.S. citizen, noncitizen national, lawful permanent resident, or noncitizen authorized to work in the United States.
They will also need to present acceptable documentation to verify their identity and employment authorization during Section 2 verification.
Section 2: Employer or Authorized Representative Review and Verification
The employer or their representative must fill out this section within three business days of the employee starting work. Please check the documents provided by the employee in Section 1.
You can find a list of acceptable documents on the USCIS website for your reference. The employer must physically examine the documents and ensure they appear genuine and relate to the employee presenting them.
Supplement A: Preparer and/or Translator Certification for Section 1 (Optional)
This supplement is not required for all situations. It’s used if an individual assists the employee in completing or translating Section 1 of the form. The preparer or translator must then certify their role and qualifications in Supplement A.
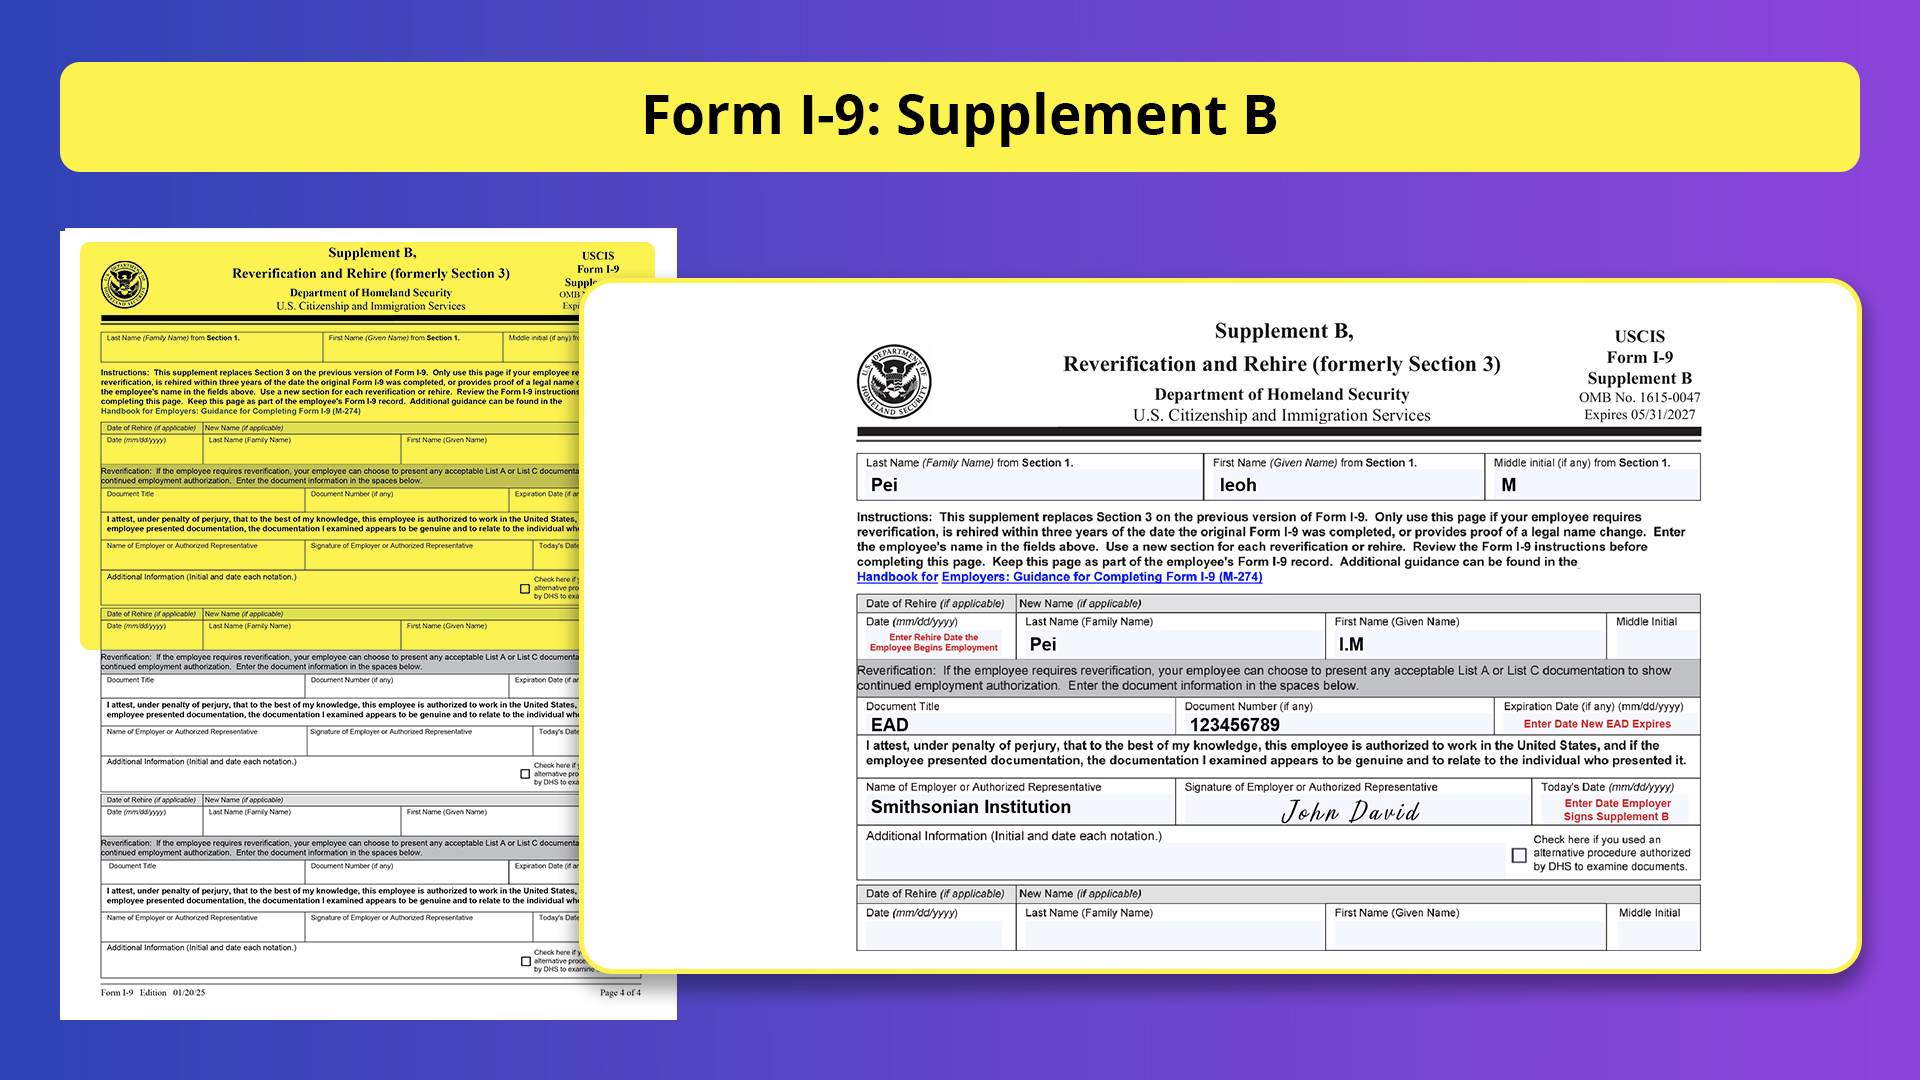
Supplement B: Reverification and Rehires (formerly Section 3)
Supplement B is not used for every employee but serves specific purposes:
- Name Change: If an employee’s legal name changes after completing Form I-9, the employer should use Supplement B to document the change and verify any new identification documents presented.
- Renewing Employment Authorization: If an employee’s work authorization document expires, the employer must use Supplement B to reverify their employment authorization upon document renewal. (Remember, as of April 2024, there’s a temporary rule allowing an automatic extension of EAD validity periods for up to 540 days from the card’s expiration date. Employers should be aware of this update.)
- Rehire Within Three Years: If an employee is rehired within three years of their original hire date on Form I-9, Supplement B can be used to verify their continued employment authorization, though reverification might not always be necessary.
Obtaining and Retaining I-9 Forms
Obtaining Form I-9
U.S. Citizenship and Immigration Services (USCIS) provides the latest version of Form I-9 (published on 08/01/2023) free of charge on their website. It’s your responsibility as an employer to provide a copy to each new hire.
Form I-9 Retention
Proper retention of completed Forms I-9 is crucial. Employers must keep these forms for at least three years after hiring or one year after employment ends, whichever is later. This ensures you can present them upon request during a potential I-9 audit from USCIS.
Form I-9 Expiration Date
Recently, the USCIS updated the Form I-9. The current edition is dated 01/20/25, and has the expiration date 05/31/2027. Employers who use an I-9 Form with the edition date of 08/01/23 may have an expiration date of either 07/31/2026 or 05/31/2027. Either form may be used until its respective expiration date. Employers are encouraged to update their electronic Forms I-9 systems to use the 05/31/2027 expiration date as soon as possible and must do so no later than July 31, 2026, the expiration date on the previously-issued Form I-9.
How to Complete the latest I-9 Form?
Now that we’ve covered the basics of Form I-9, let’s delve into the details of proper completion of the I-9 Form 2026 for both employers and employees.
Section 1. Employee Information and Attestation
Employees must fill out and sign Section 1 of Form I-9 on their first day of work. However, they can complete it any time after accepting your job offer. Additionally, individuals can assist employees with completing Section 1, and their role will be documented in Supplement A.
Here’s a breakdown of what employees need to provide in Section 1:
- Full Legal Name: Include both first and last names, including any hyphens or apostrophes. If an employee has only one name, they should enter it in the "Last Name" field and "Unknown" in the "First Name" field.
- Previous Last Names: Enter any other legal last names used, such as a maiden name.
- Current Address: Enter the full address including street number, city, state, and ZIP code. Include the apartment number if applicable.
- Date of Birth: Provide the employee’s date of birth.
- Citizenship Status: Employees must choose their citizenship status from the options given. The options include U.S. citizen, noncitizen national, lawful permanent resident, or authorized noncitizen to work in the U.S.
- Employment Authorization (if applicable): If the employee is not a U.S. citizen, they must provide their A-Number/USCIS Number, Form I-94 admission number, or foreign passport number (with issuing country) and the expiration date of their work authorization.
- Signature and Date: Employees must sign and date Section 1, even if someone assisted them.
- Social Security Number: Providing a Social Security number is optional unless you participate in the E-Verify program, in which case it becomes mandatory.
- Email Address and Phone Number: These are optional fields, but employees can choose to include them.

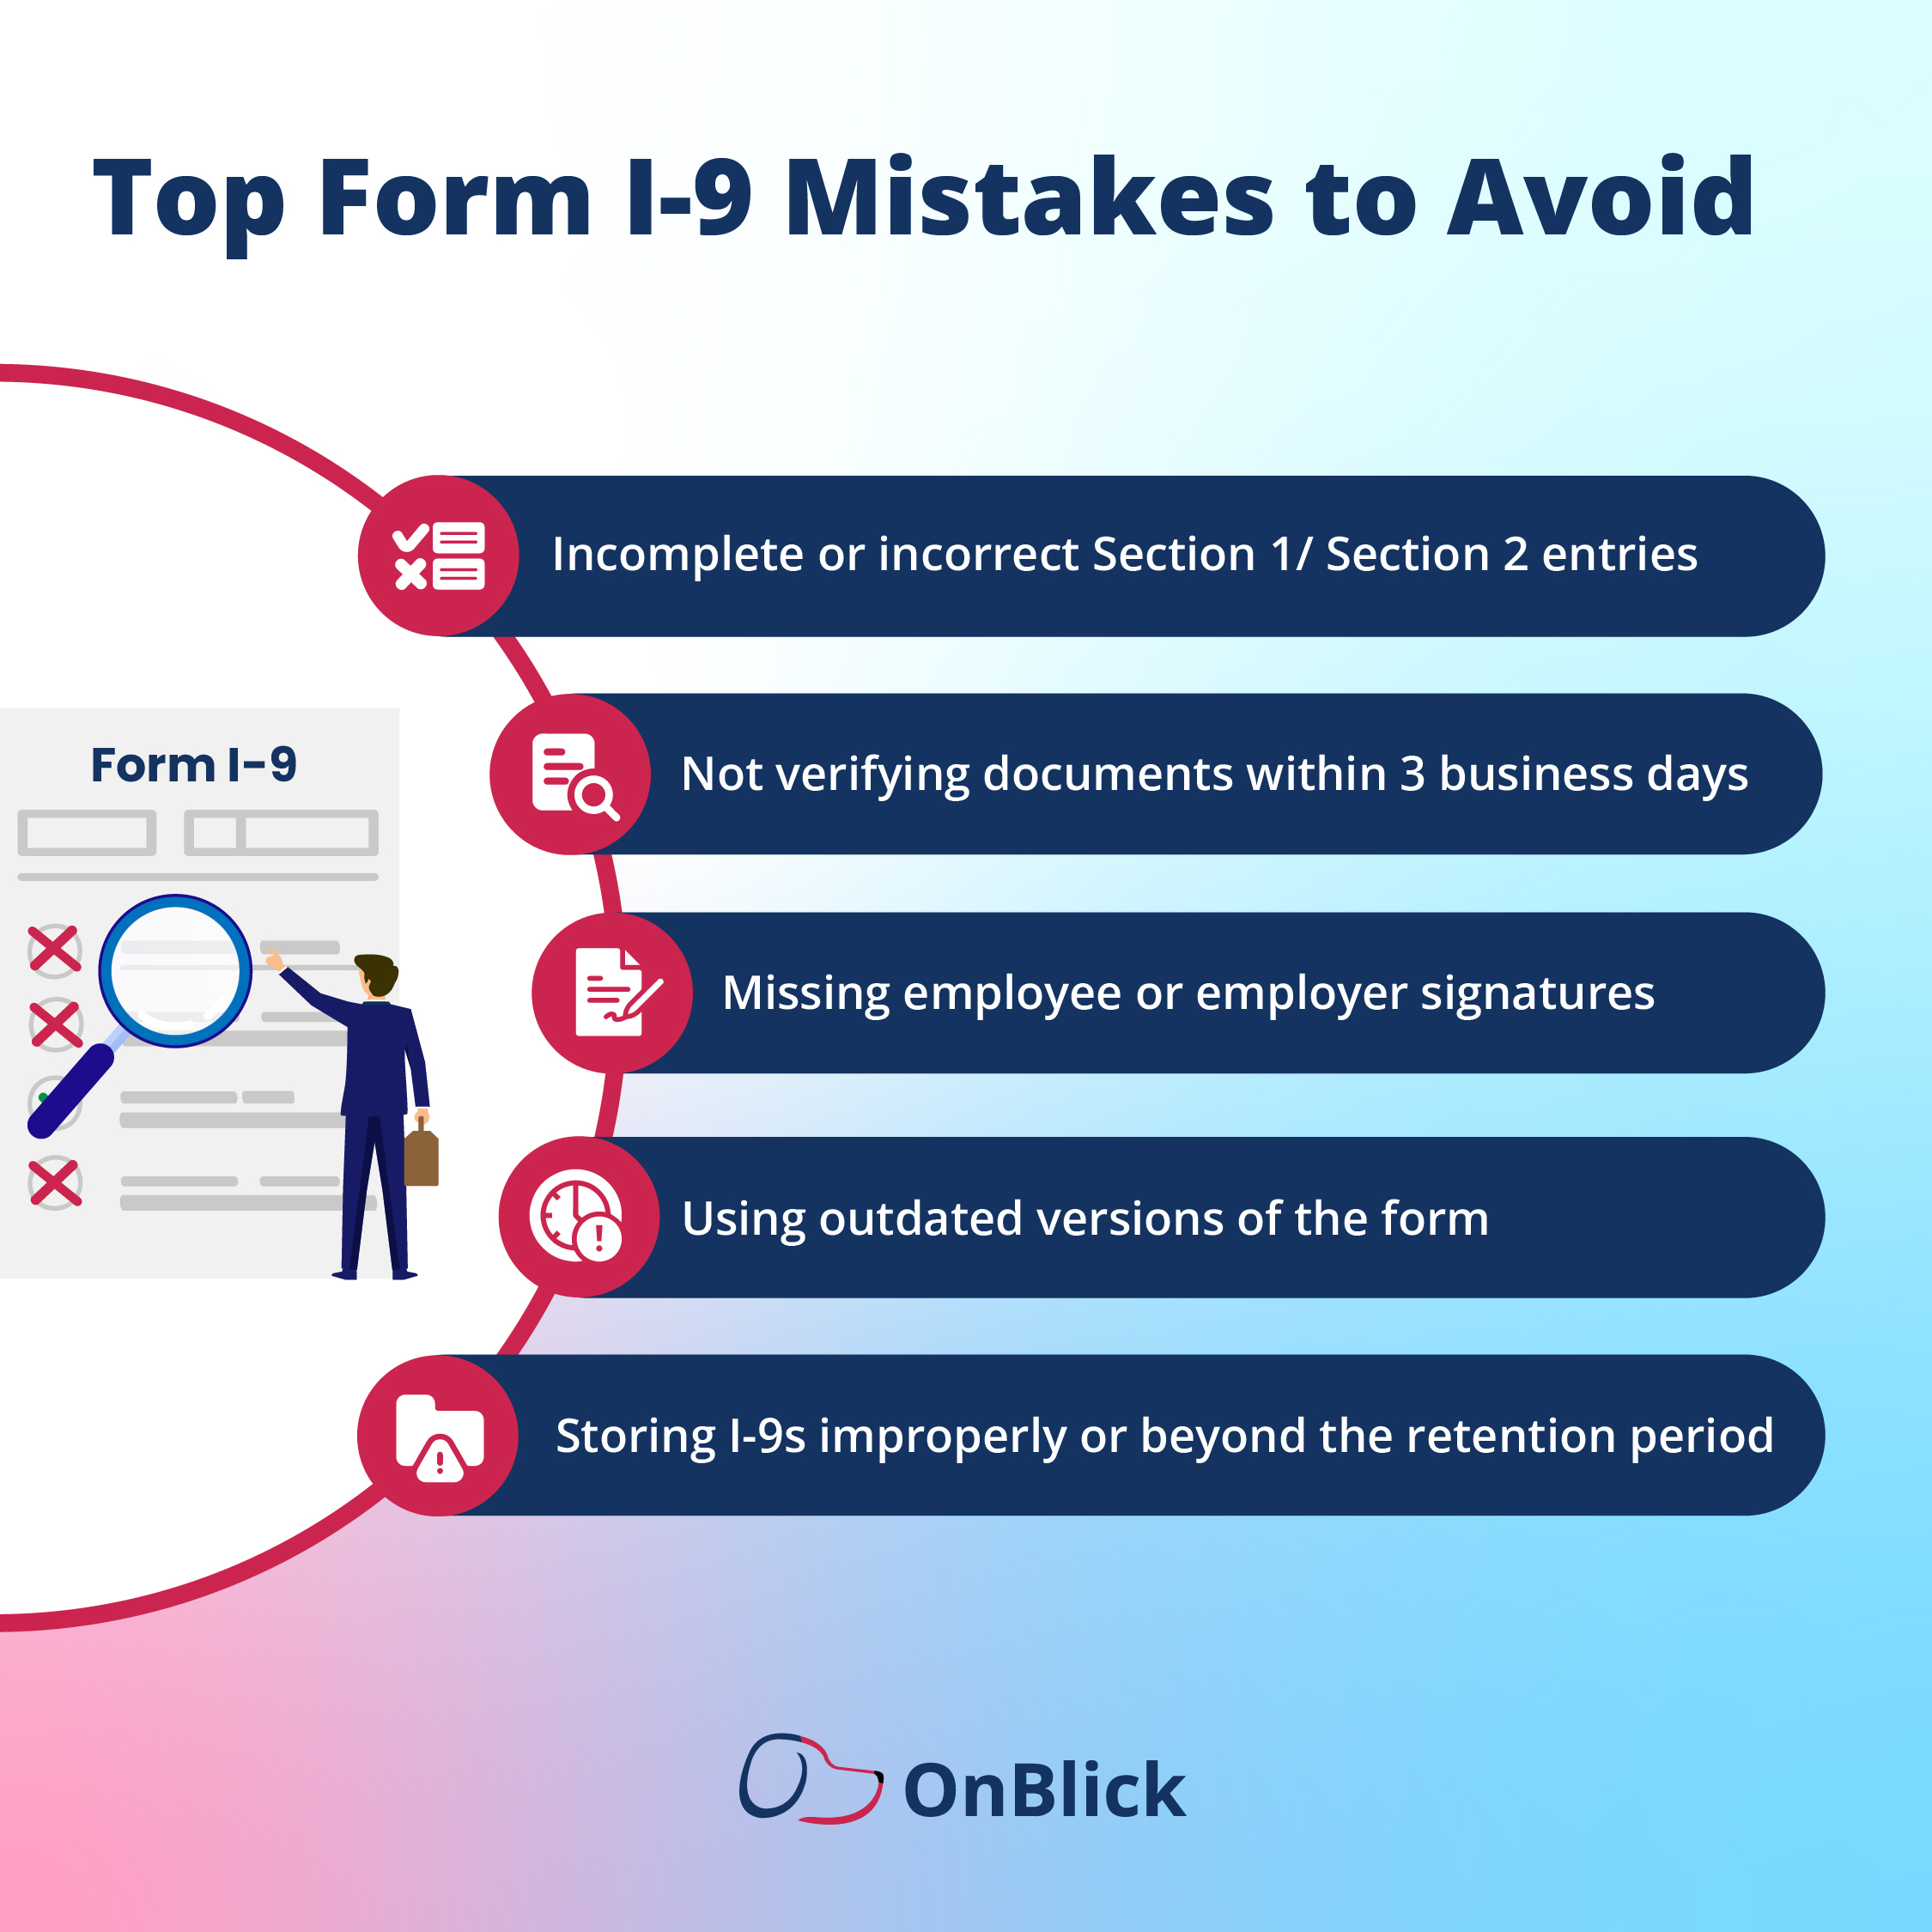
Update: Here is the latest Form I-9 Section 1 (expiry date 07/31/2026)
Key Points : Section 1 of Form I-9
- Provide new hires with Form I-9 instructions and the USCIS List of Acceptable Documents.
- Employees complete and sign Section 1 by their first day of employment.
- Supplement A documents the role of preparers and translators assisting employees.
- Retain completed Forms I-9 and Supplement A pages as required by law.
Section 2. Employer Review and Attestation
As an employer, you (or your authorized representative) need to complete and sign Section 2 of Form I-9. You must complete this within three business days of your employee’s first day of work. This ensures timely verification of their employment eligibility.
Employee Requirements for Section 2 of Form I-9
Employees must present original, unexpired documents from the USCIS List of Acceptable Documents to verify their identity and employment authorization. They can choose to present:
- One document from List A (showing both identity and authorization) OR
- One document from List B (showing identity) combined with one document from List C (showing authorization).
In some cases, acceptable receipts for List A, B, or C documents may be presented.
- List A: Documents that establish both identity and employment authorization (e.g., U.S. passport, Permanent Resident Card).
- List B: Documents that establish identity only (e.g., driver's license, state ID card).
- List C: Documents that establish employment authorization only (e.g., Employment Authorization Document (EAD), Social Security card).
Important Note: If you participate in the E-Verify program and the employee presents a combination of List B and C documents, the List B document must contain a photograph. For more information, visit e-verify.gov
Employer’s Verification Process : Section 2 of Form I-9
- Examine the employee’s documentation to ensure it is original (except certified birth certificate copies) or an acceptable receipt.
- Verify that the documents appear genuine and belong to the employee presenting them. (Employers participating in E-Verify can use authorized remote examination procedures).
- If a document seems suspicious, allow the employee to present alternative documentation from the Lists.
- In Section 2, record details from the employee’s documents (title, issuing authority, document number, expiration date).
- If using E-Verify with remote document examination, check the "Additional Information" box.
- Enter the employee’s start date, your name, signature, title, and completion date.
- Include your business name and physical address (no P.O. boxes). Use the address relevant to the employee's location and Form I-9 completion.
- Finally, return the original documents to the employee.

Update: Here is the latest Form I-9 Section 2 (expiry date 07/31/2026)

Key Points: Section 2 of Form I-9
- Complete Section 2 within 3 business days of the employee’s hire date.
- Verify employee documents using the USCIS Lists of Acceptable Documents.
- Follow E-Verify requirements if applicable.
- Retain completed Forms I-9 as required by law.
Authorized Representatives
You can designate an individual (employee exceptions apply) to complete, update, or correct Section 2 (or 3) of Form I-9 on your behalf. This authorized representative can be someone from your company (personnel officer, foreman) or an external agent. They must verify the employee’s completed Section 1 and documents (physically or remotely).
Important Notes
- You are legally responsible for any violations committed by your authorized representative during the verification process.
- No formal agreement is required with the representative.
- A notary public acting as an authorized representative cannot use a notary seal on Form I-9.
- Employees cannot be authorized representatives for their own Form I-9.
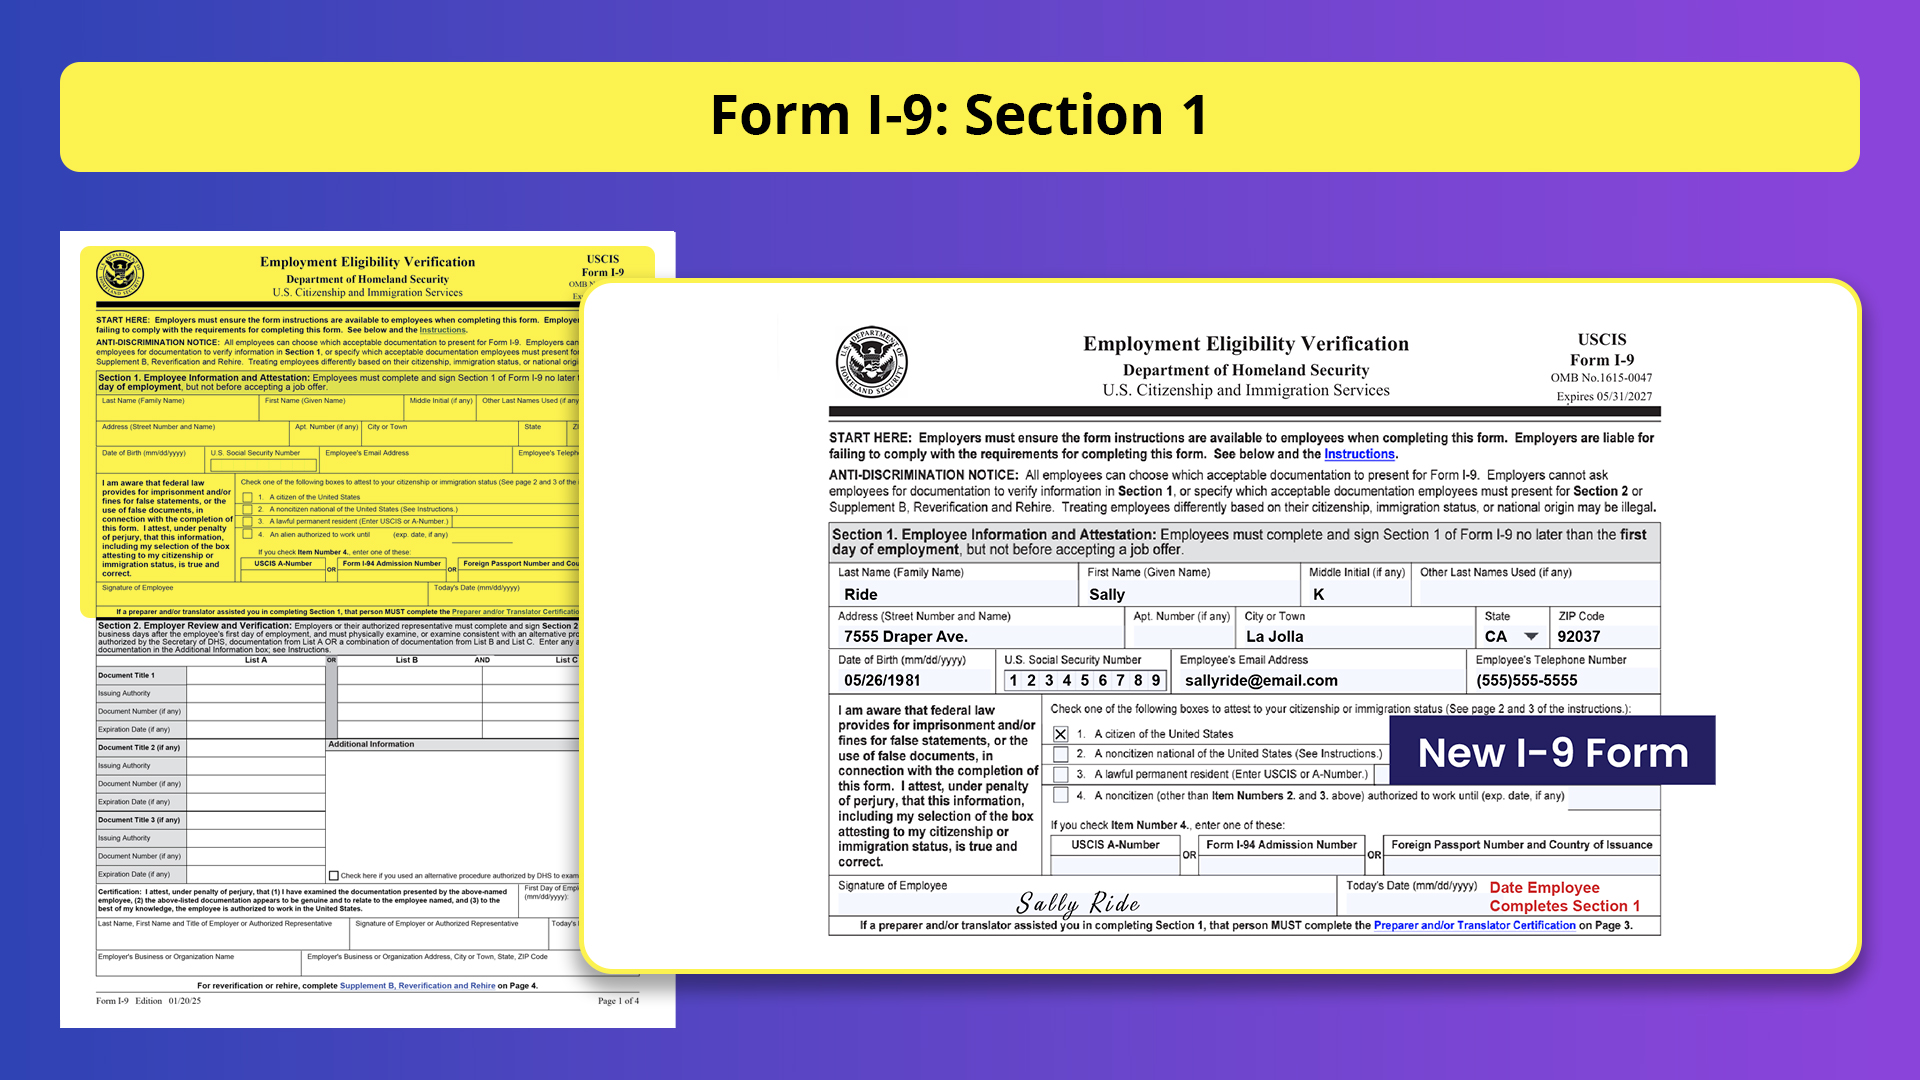
Supplement A. Preparer and/or Translator Certification
If someone assists an employee in completing Section 1, they must complete Supplement A. This supplement requires the preparer or translator’s name, address, signature, and date. It’s crucial to retain completed Supplement A pages along with the employee’s Form I-9. The employee’s signature date in Section 1 should also match the preparer/translator’s signature date on Supplement A.

Update: This is the latest Form I-9 Supplement A (expiry date 07/31/2026)
Supplement B. Reverification and Rehires (formerly Section 3)
Employers use Supplement B of Form I-9 for two main purposes:
- Reverification: When an employee’s work authorization or documentation authorizing work (e.g., EAD card) expires.
- Rehires: When an employee is rehired within three years of their original Form I-9 completion date.
Who Needs Form I-9 Reverification?
Not all employees require reverification. U.S. citizens, noncitizen nationals, lawful permanent residents with a Green Card (Form I-551), and those presenting List B documents (identity only) generally don’t need it.
When to Complete I-9 Supplement B for Reverification
Employee’s authorization or documentation expires: Review both Section 1 (employee-provided expiration date) and Section 2 (document expiration date) to determine the earlier date for reverification.
Remind employees: Remind employees to provide new documentation for work authorization at least 90 days before it expires.
How to Complete Supplement B for Reverification
- Employee presents new documents: The employee must present unexpired documents from List A (showing both identity and authorization) or List C (showing authorization only). Receipts for lost/damaged documents are acceptable.
- Verify new documents: Examine the documents for authenticity and relevance to the employee. Allow them to present alternative documents if needed.
- Record document details: In Supplement B, record the document title, number, and expiration date (if any).
- Sign and date: Sign and date Supplement B.
Rehiring Within Three Years
For rehires within three years of the original Form I-9 completion, you can either:
- Complete a new Form I-9.
- Complete Supplement B of the existing Form I-9.
How to Complete Supplement B for Rehires
- Verify original Form I-9: Ensure the existing Form I-9 belongs to the rehired employee.
- Review authorization status: Check the original Form I-9 (Section 2 and any previous Supplement B) to see if the employee's authorization is still valid (including any auto-extensions).
- Employee still authorized: If authorized and documentation is unexpired, enter the rehire date in Supplement B.
- Employee needs reverification: If authorization has expired, request new documentation from List A or List C (don’t reverify List B documents). Enter document details and the rehire date in Supplement B.
- Out-of-date Form I-9: If the original Form I-9 version is outdated, use the current version for Supplement B.
- Sign and date: Sign and date Supplement B.

Update: The latest Form I-9 Supplement B (expiry date 07/31/2026) is here:
Key Points : Supplement B of Form I-9
- Use Supplement B for reverification and rehires within three years.
- Not all employees require reverification.
- Follow USCIS guidelines for document acceptance and reverification procedures.
- Retain completed Forms I-9 and Supplement B as required by law.
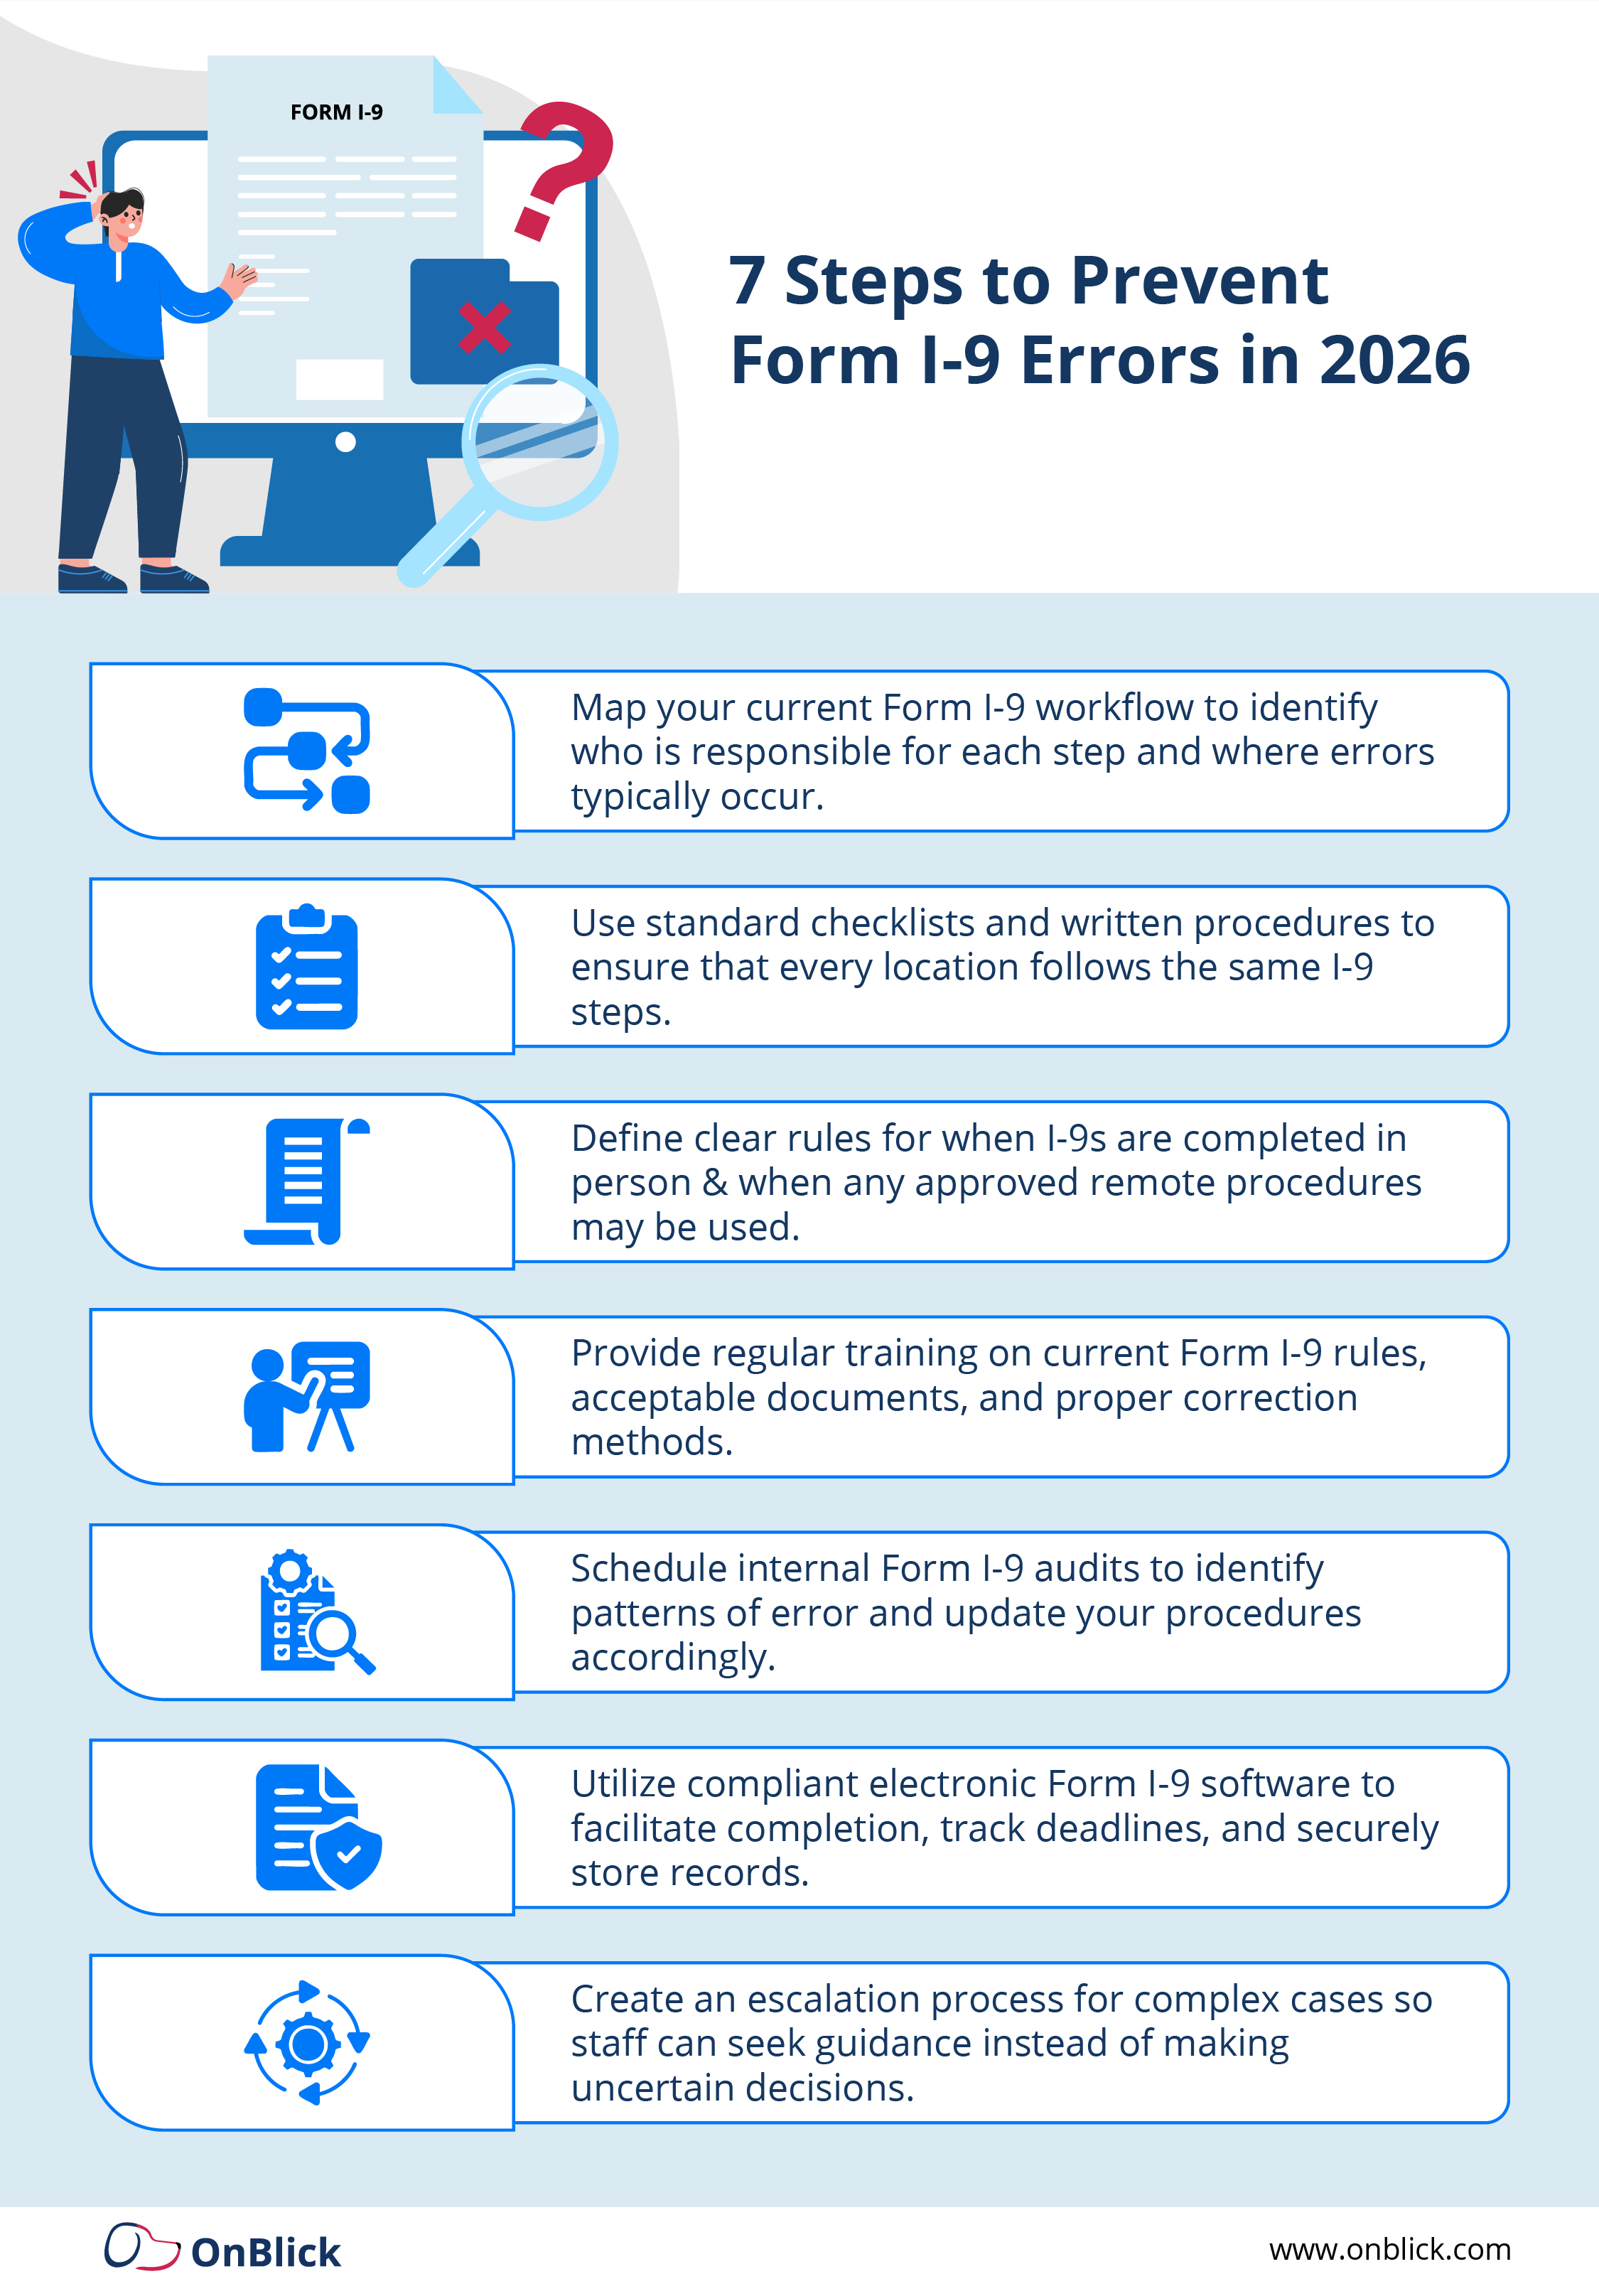
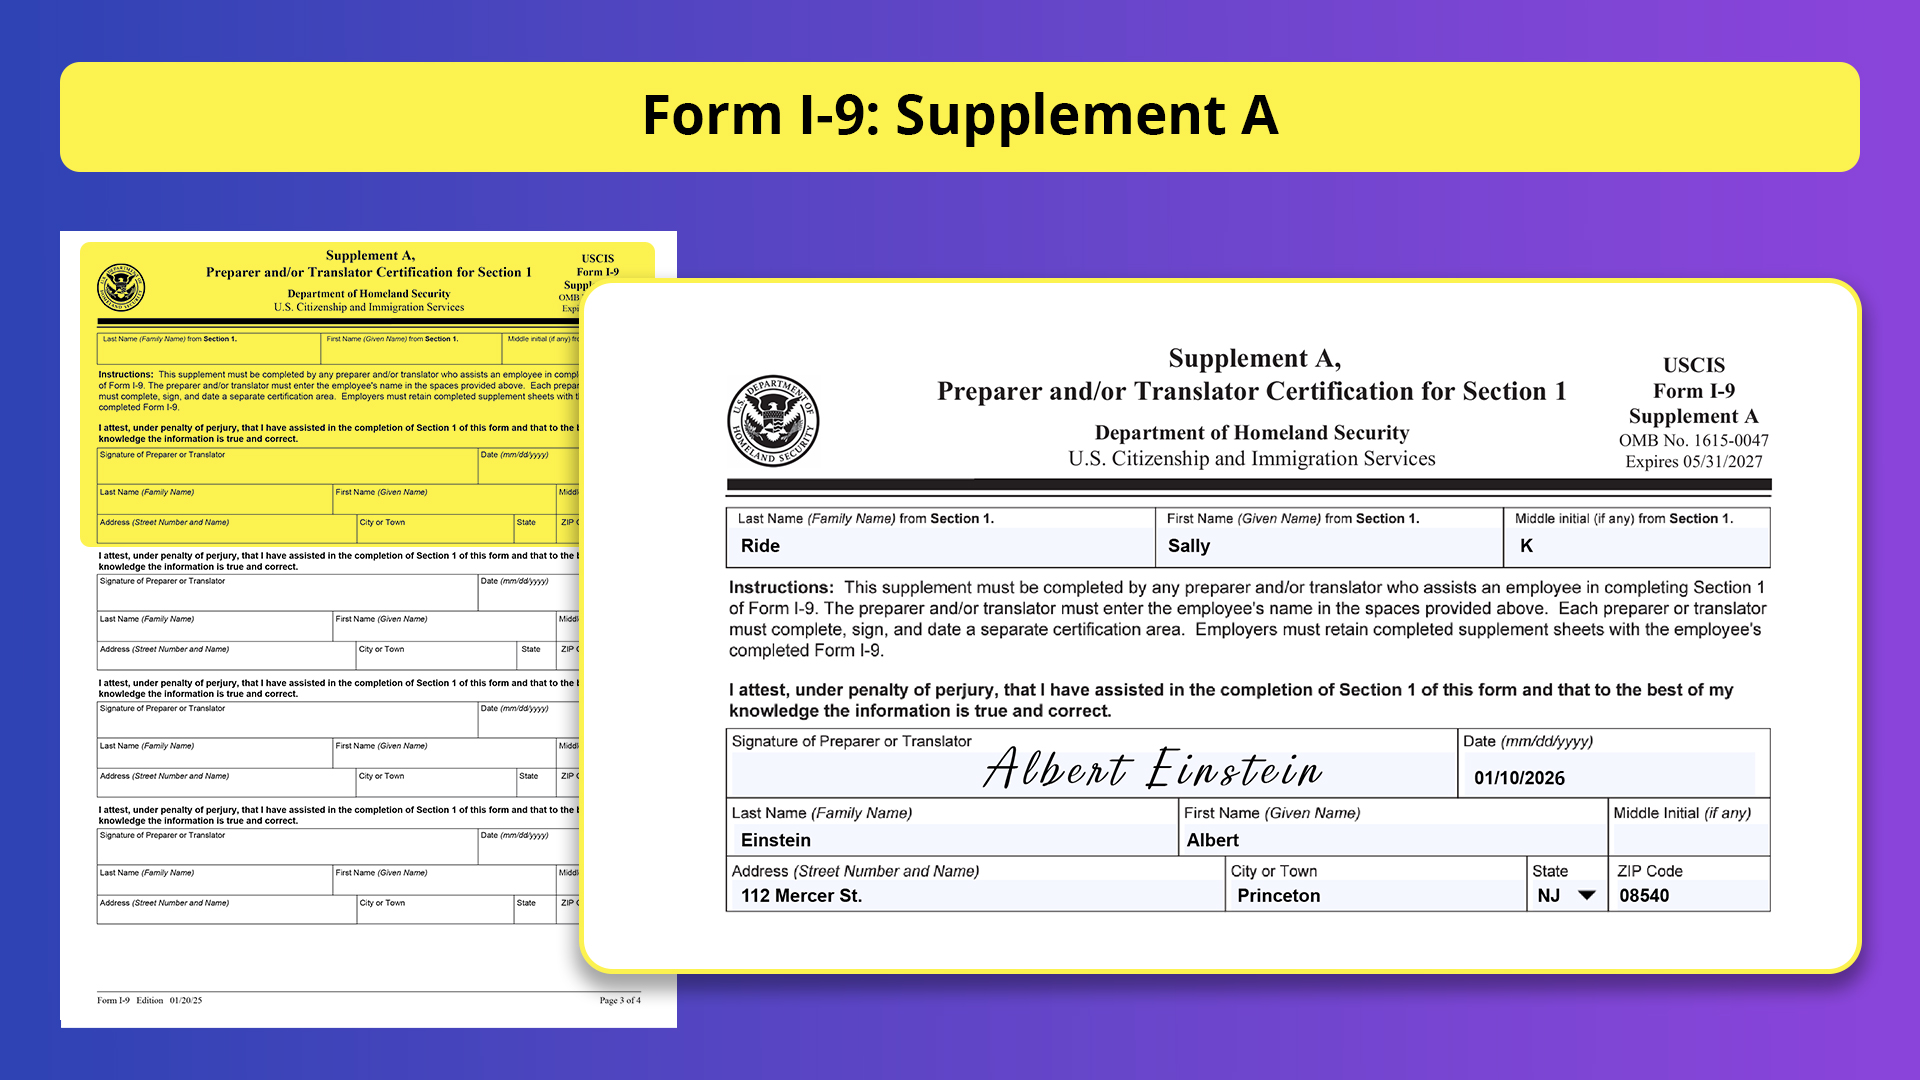
Form I-9 Compliance Tips
- Timely Completion: Follow the designated timelines for completing each section of Form I-9. Don’t miss deadlines!
- Payroll Accuracy: Ensure the employee’s start date on Form I-9 matches the date reflected in payroll records for consistency.
- Clear Communication: Avoid using unclear abbreviations on the form. Opt for universally recognized abbreviations or write out terms fully for clarity.
- Up-to-Date Forms: Always use the latest version of Form I-9 available from USCIS. For instance, the I-9 Form 2026 is the 01/20/25 edition.
- Document Verification: Meticulously examine employee-presented documents to ensure authenticity and unexpired validity.

Streamline I-9 Compliance and Avoid Costly Errors with OnBlick
Managing an I-9 form, Employment Eligibility Verification, can be a headache. Even minor mistakes can lead to hefty fines. OnBlick's I-9 Assist takes the stress out of the process. Our electronic Form I-9 software helps you and your employees fill out forms accurately and securely. It reduces errors and ensures that documents are stored correctly. OnBlick goes beyond basic I-9 assistance. It offers:
- Automated audit trails: Track the entire I-9 process for complete peace of mind.
- Digital signatures: Eliminate paper with secure electronic signatures.
- Document Expiry alerts: Get notified before documents expire to avoid disruptions.
- E-Verify integration: Streamline the verification process for added efficiency.
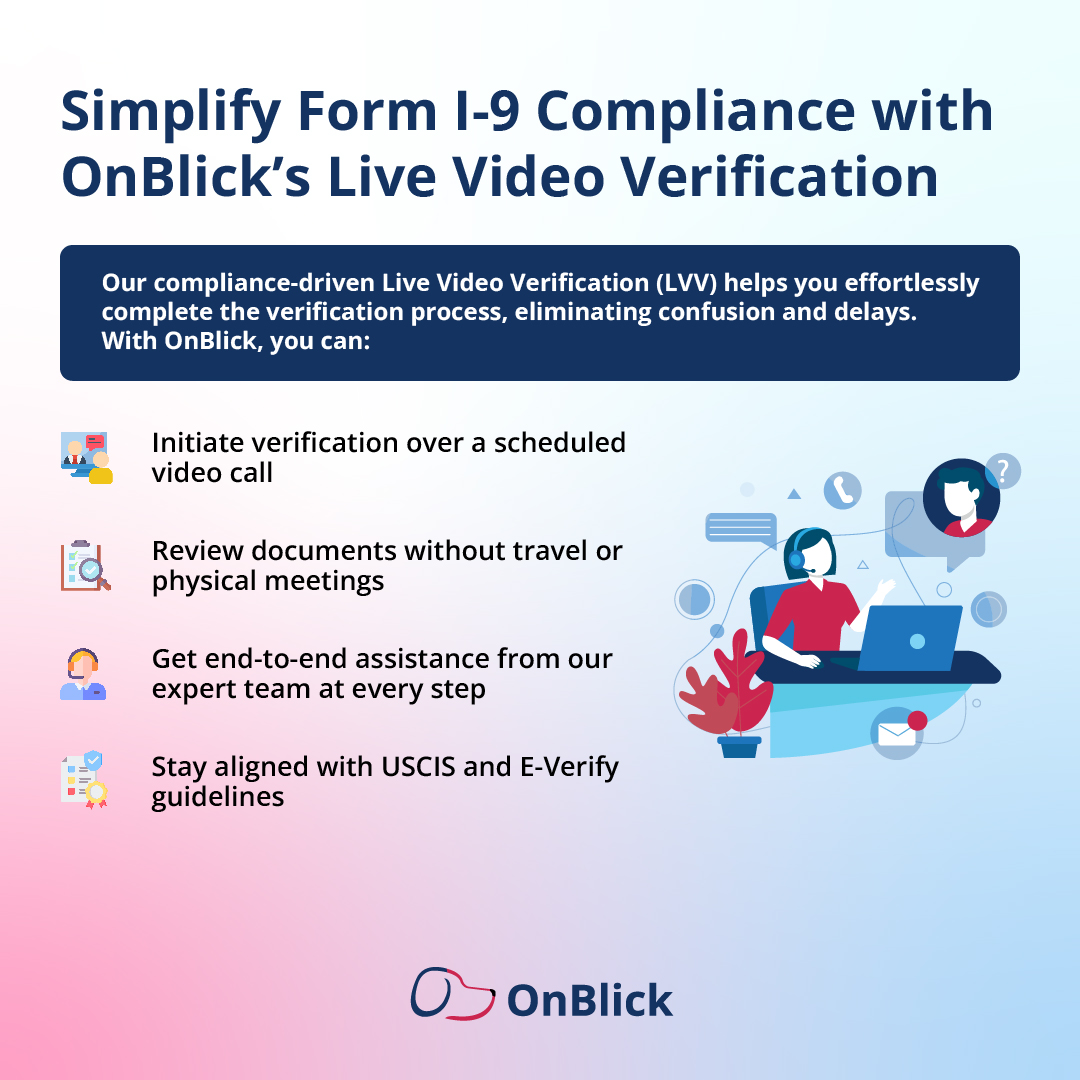
- Live Video Verification feature: This DHS-authorized I-9 remote alternative procedure ensures secure identity and employment authorization checks, offering the same level of security as in-person verification while providing greater flexibility.
- I-9 audit services help review forms for completeness, check retention practices, evaluate remote and in-person verification workflows, and strengthen internal processes.
Focus on your business and let OnBlick handle Form I-9 compliance. Book your free OnBlick demo here.